Resin bound patios have become more popular in recent years as they are a durable, low maintenance and visually attractive alternative to traditional pavers. While there are many professional installation options, more and more homeowners are choosing to do resin bound patios as DIY projects. It not only helps save money, but also allows for an extra personal accent to be added the outdoor space.
Making your own resin bound patio can seem like a daunting endeavor however, with the right tools, materials and a little guidance, it can be an enjoyable and rewarding project. Here are some tips and tricks that can help you design a stunning resin-bound patio of your own.
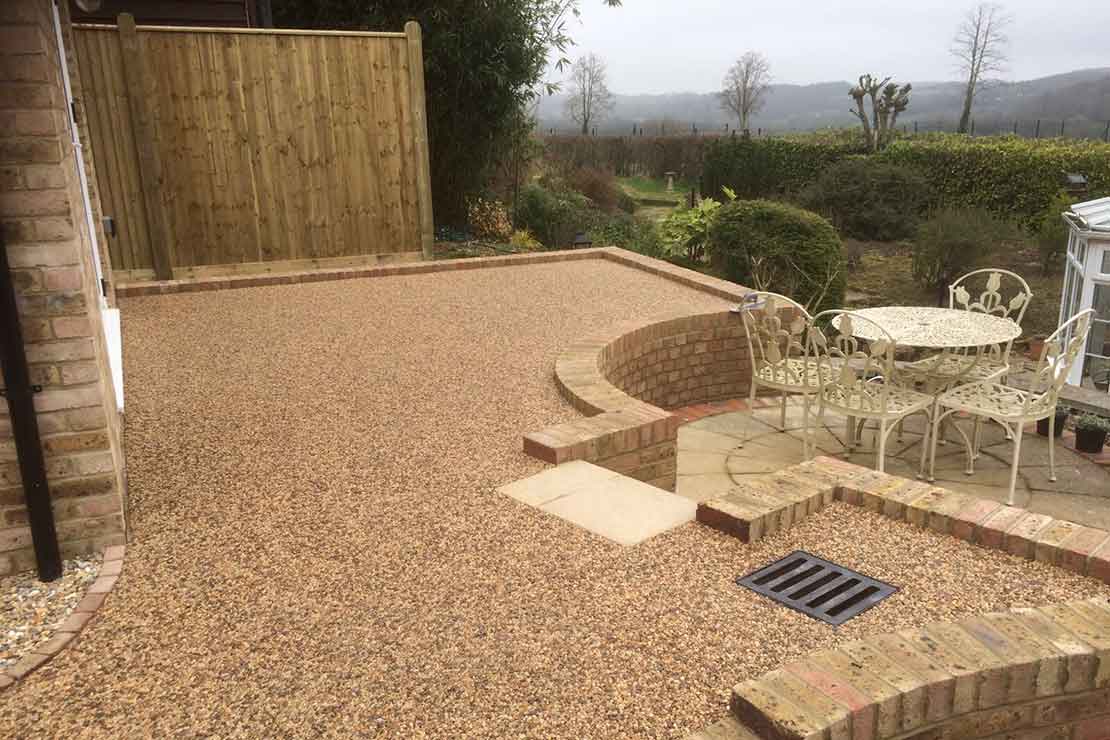
It is crucial to understand the definition of what a resin-bound patio is. A resin-bound patio is a mixture of natural aggregates such as stone, marble or granite, mixed with a transparent resin binder. The mixture is then troweled on a flat surface that creates a non-slip appearance.
It is possible to install a resin-bound patio on concrete, asphalt, or even existing block pavers. It is essential that the surface be clean, clear of debris and in good working order.
Before tackling any work on the surface, it is vital to consider the drainage needs of the area. It is vital to make sure that the surface is sufficiently sloped to permit rainwater to be able to flow away from the surface and run off. This is crucial in areas prone to heavy rain. Incorporating drainage channels and soakaways could be necessary to enhance drainage.
After having a look at the drainage requirements, it’s now time to clean your patio. It is essential to wash the patio’s surface and eliminate any unwelcome dirt or weeds. It is also important to fix any damage or cracks to the surface since it will affect the final finish of the patio.
Next, lay the sub-base. This is usually made of crushed stone or pea gravel. The layer must be compacted so that it is steady and level. It is essential that the sub base is 100mm thick as it will act as a foundation for the resin-bound mixture.
The resin-bound mixture is blended after the subbase layer and compacted. Natural aggregates are mixed in with the resin binder by using an mixer. To ensure that you have the perfect level of consistency, you must to be sure to follow the manufacturer’s instructions.
After the mix has been prepared, it can be spread over the surface in an area of 15-18mm. After applying the mixture, it is vital to move it quickly since within 30-40 minutes, it will begin to harden. Utilize a trowel made of steel to ensure the surface is level and smooth.
Allow the resin bound mixture to set for at least 24 hrs before walking on it. This will ensure that the mixture is solid and stable.
The resin bound patio must be cleaned and maintained frequently so that it can maintain its aesthetics and functions. Regularly sweeping is needed to remove dirt. Power washing can also be employed to get rid of difficult stains and marks.
It has never been simpler to make the outdoor space of your property than using resin-bound gravel kits. They provide an easy and fast solution to give your patio, driveway, or garden a new look. These kits aren’t just stunning, but also long-lasting and low-maintenance. This is the perfect surface for those with hectic schedules. With a wide range of colors and finishes resin bound gravel can be adapted enough to suit any style and preference, whether elegant and contemporary or natural and rustic. Installation is easy, so it’s an excellent way to upgrade the exterior of your home. The resin bound gravel kits will transform your outdoor space from boring to functional and beautiful.
Making a resin bound patio DIY project can be a fantastic method to add value and attraction to your outdoor space. The patio’s surface needs to be cleaned and drainage needs being assessed. With the right tools, suitable materials and a bit of perseverance can allow you to build a stunning resin bound patio.
For more information, click Resin Bound Patio Diy